


You have successfully installed WordPress. To the untrained eye, the site is ready. To a developer, the site is currently naked, vulnerable, and cluttered.
A fresh WordPress installation comes with “defaults” intended for demonstration, not production. If you start blogging or designing immediately, you are building on a shaky foundation.
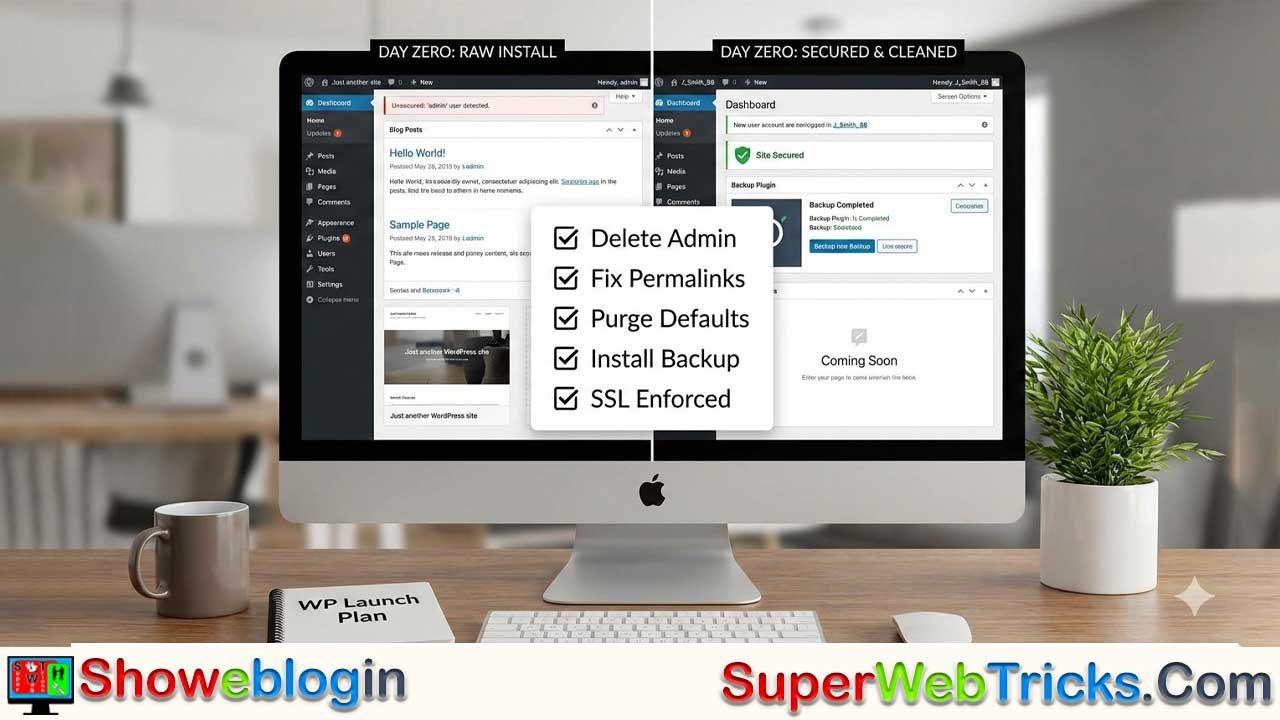
Here is the expanded, step-by-step execution plan to harden, clean, and optimize your site in the first 60 minutes.
Phase 1: Security Hardening & The “Kill” List
Objective: Remove vulnerabilities and useless code before they become a problem.
1. Eliminate the “Admin” User
Hackers use “Brute Force” attacks where scripts automatically guess your password. They almost always guess the username “admin” first. If that is your username, you have done 50% of their work for them.
- The Problem: You cannot simply rename a username in WordPress.
- The Fix:
- Go to Users > Add New User.
- Create a new user with a unique name (e.g.,
Editor_Sarah99) and a strong password. - Crucial: Set the “Role” to Administrator.
- Log out of the old account. Log in with the new account.
- Go to Users, hover over the old “admin” user, and click Delete.
- WordPress will ask what to do with existing content. Select: “Attribute all content to: [Your New User]”.
2. The “Default Content” Purge
Search engines like Google penalize “Duplicate Content.” Millions of sites have the default “Hello World” post. You do not want to be associated with them.
- Posts: Go to Posts > All Posts. Trash “Hello World!” Then go to the Trash tab and “Delete Permanently.”
- Pages: Go to Pages > All Pages. Trash “Sample Page.”
- Comments: Go to Comments. Delete the default comment from “Mr. WordPress.”
3. Remove Unused Code (Themes & Plugins)
Every inactive plugin or theme is a potential “backdoor” for hackers. If you aren’t using it, destroy it.
- Plugins: Go to Plugins. Delete “Hello Dolly” (it is just a lyric script). If your host pre-installed “Jetpack” or “OptinMonster” and you don’t intend to use them, delete them now.
- Themes: Go to Appearance > Themes. You should keep your active theme and one backup default theme (like Twenty Twenty-Four) for debugging purposes. Delete all others.
Phase 2: Technical Configuration (SEO & UX)
Objective: Configure the invisible settings that control how Google and humans read your site.
1. Structure Your Permalinks (High Priority)
By default, your links might look like example.com/?p=123. This tells Google nothing about your content.
- Go to: Settings > Permalinks.
- Action: Select “Post name” (e.g.,
example.com/my-great-article/). - Why: This structure includes keywords in the URL, which is a significant ranking factor for SEO.
- Warning: Do this now. Changing permalinks after you have published content will break all your links and destroy your SEO ranking.
2. Localize and Branding
- Go to: Settings > General.
- Site Title & Tagline: Update these. If you don’t have a tagline, delete the default “Just another WordPress site.” Leaving the default looks amateurish in Google search results.
- Timezone: Change this from
UTC+0to your local city. This ensures scheduled posts go live at the correct time. - Membership: Ensure “Anyone can register” is unchecked unless you are specifically building a membership site.
3. Combat Spam (Discussion Settings)
Before you install heavy anti-spam plugins, use the native settings.
- Go to: Settings > Discussion.
- Default Post Settings: Uncheck “Allow link notifications from other blogs (pingbacks and trackbacks).” These are obsolete and mostly used by spammers.
- Before a comment appears: Check “Comment must be manually approved.” This ensures no spam goes live without your permission.
Phase 3: The Design Foundation
Objective: Select a visual engine that is fast and mobile-responsive.
1. Choose a “Lightweight” Theme
Do not choose a theme just because the demo looks pretty. Many attractive themes are “bloated” with bad code that slows your site down.
- Recommendation: Start with a lightweight framework theme. The “Big Three” currently recommended by professionals are:
- Astra
- GeneratePress
- Kadence
- Action: Install one of these. They are free, fast, and highly customizable.
2. Create a Child Theme (Pro Tip)
If you edit your theme’s files directly, your changes will be wiped out the next time the theme updates.
- The Fix: Use a plugin like Child Theme Configurator to create a “Child Theme” of your chosen theme (e.g., “Astra Child”).
- Action: Activate the Child Theme. Now, you can customize code safely.
Phase 4: The Essential Plugin Stack
Objective: Add functionality without slowing down the site. Adhere to the rule: “Less is More.”
Install these four categories of plugins immediately.
| Category | Recommended Plugin | Configuration Note |
|---|---|---|
| 1. Backups | UpdraftPlus (Free) | Connect it to Google Drive/Dropbox immediately. Run a manual backup now. |
| 2. SEO | RankMath or Yoast | These tools analyze your content and generate a generic XML Sitemap for Google. |
| 3. Security | Wordfence or Solid Security | Turn on the firewall. If offered, enable 2FA (Two-Factor Authentication) for your admin login. |
| 4. Caching | WP Rocket ($) or LiteSpeed Cache (Free) | This saves static versions of your pages so they load instantly for visitors. |
Phase 5: Legal & Compliance
Objective: protect yourself legally before launching.
WordPress comes with a draft Privacy Policy page.
- Go to Settings > Privacy.
- Select the draft page and click Edit.
- Fill in the brackets with your actual information.
- Publish the page.
- Add this page to your Footer Menu so it appears on every page of your site.
Phase 6: Connection to “The Mothership”
Objective: Tell Google your site exists.
You cannot improve what you do not measure. You must connect your site to Google’s tools.
- Google Analytics (GA4): Tracks who is visiting your site and what they are doing.
- Google Search Console: Tracks how your site appears in search results and alerts you to technical errors.
- Tip: You can use the Google Site Kit plugin to connect both of these easily from your WordPress dashboard.
Summary Checklist
- [ ] User: New Admin created, old “admin” deleted.
- [ ] Clean: Hello World, Sample Page, Hello Dolly deleted.
- [ ] URLs: Permalinks set to “Post Name”.
- [ ] Settings: Timezone set; “Discourage Search Engines” checked (temporarily).
- [ ] Theme: Lightweight theme installed + Child Theme activated.
- [ ] Backup: UpdraftPlus installed + First backup complete.
A Final Next Step for You
Now that your “engine” is tuned and secure, you are ready to start building the visible site.