


One of my clients using the WinBlogTem template recently asked a crucial question that plagues many content creators as their archives grow: “How do I display all my blog posts on a single, static page?”
When a blog grows from 10 posts to 100 or 1,000, standard pagination (“Older Posts” buttons) becomes useless. Readers can’t find older gems, and search bots might miss deep content.
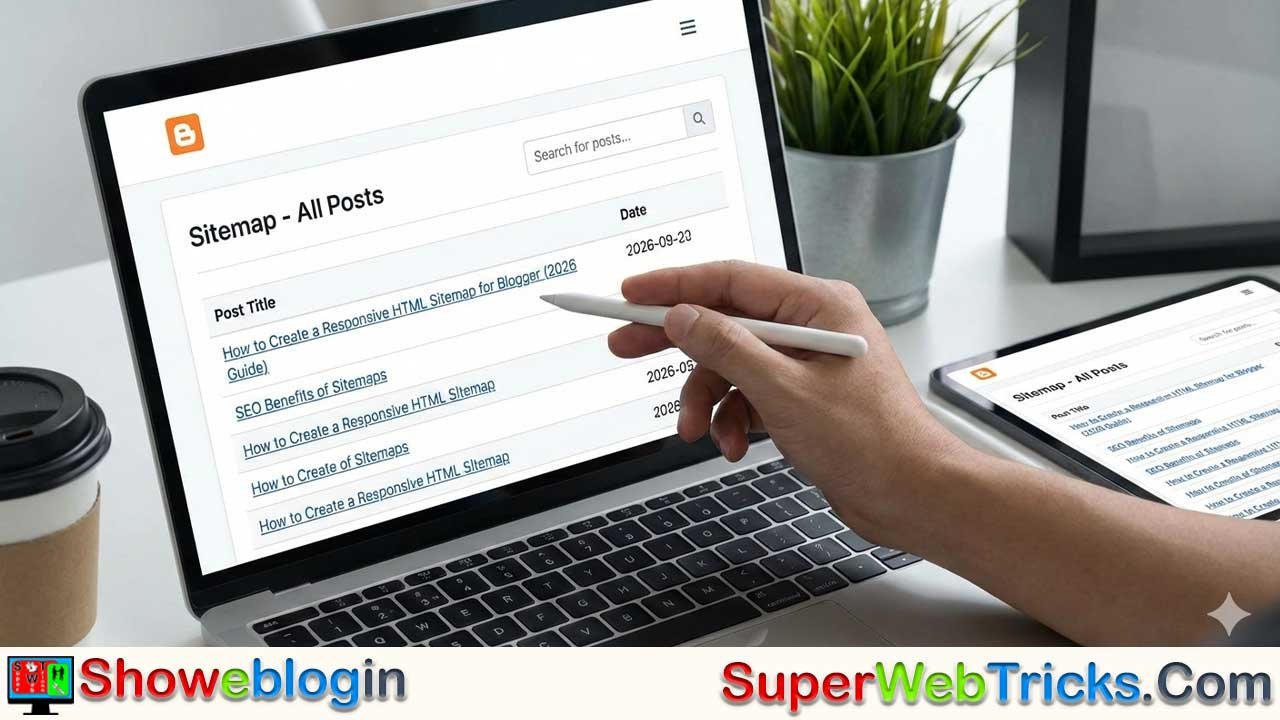
The answer is an HTML Sitemap.
Is it possible to create one in Blogger? Yes, definitely. And in 2026, it is easier than ever if you have the right code. If you are a BlogSpot user, this expanded tutorial will not only give you the copy-paste code but also explain the why and how so you can take full control of your blog’s structure.
Part 1: Why Your Blog Needs an HTML Sitemap
Before we touch a single line of code, you should ask yourself: Why does this page matter?
Many bloggers confuse “sitemaps” with technical files. Let’s clear that up first.
The Confusion: HTML vs. XML Sitemaps
There are two distinct types of sitemaps. You need both, but they serve different masters.
- XML Sitemap (For Bots): This is a file (usually
sitemap.xml) submitted to Google Search Console. It is strictly for search engine crawlers (spiders) to read. It has no style and is not meant for humans. - HTML Sitemap (For Humans): This is a visual page on your blog. It is a directory or “Table of Contents” for your entire site.
The SEO & UX Benefit
Google’s Quality Guidelines emphasize one golden rule: “Make pages primarily for users, not for search engines.”
However, an HTML Sitemap actually helps both:
- For Users (UX): It reduces “Bounce Rate.” If a user lands on your blog and can’t find what they want, they leave. A sitemap gives them a bird’s-eye view of your topics, encouraging them to click a second or third link.
- For Search Engines (SEO): Deep internal linking is crucial. If a post from 2019 is buried 50 clicks deep in your pagination, Googlebot might rarely crawl it. An HTML sitemap places every single post just one click away from the main menu. This preserves “link juice” and ensures older content stays indexed.
Part 2: The “Broken” Old Scripts (And How We Fixed It)
If you have looked for sitemap tutorials before, you likely found code that doesn’t work.
Here is why: Years ago, developers hosted sitemap scripts (.js files) on Google Drive or Dropbox. Google and Dropbox have since disabled the “web hosting” feature for public files. This caused thousands of Blogger sitemaps to crash simultaneously, showing “Loading…” messages that never finished.
The 2026 Solution: The code provided below does not rely on external file hosting. The JavaScript is “Inline,” meaning it lives directly inside your blog page. It fetches data directly from your blog’s RSS feed (JSON API). It is faster, safer, and will not break if a third-party service shuts down.
Part 3: Step-by-Step Installation Guide
Follow these steps to install the SWT Blogger HTML Sitemap.
Step 1: Prepare Your Blog
- Log in to your Blogger Dashboard.
- Go to Settings > Site Feed.
- Ensure “Allow Blog Feed” is set to Full or Until Jump Break. (If this is set to “None,” the script cannot fetch your posts).
Step 2: Create the Page
- On the left menu, click Pages.
- Click New Page.
- Crucial Step: In the Title field, type
Sitemapand immediately hit Publish.- Reasoning: This forces Blogger to create a clean URL:
.../p/sitemap.html. If you title it “My Archives” first, the URL will be.../p/my-archives.html, which is harder to remember.
- Reasoning: This forces Blogger to create a clean URL:
Step 3: Insert the Code
- Open your new “Sitemap” page to edit it.
- Change the Title to something user-friendly, like “All Posts,” “Archives,” or “Table of Contents.”
- In the top-left corner of the toolbar, click the Pencil/Code icon (
< >) and switch to HTML View. - Delete any existing code (like
<br>or<div>) so the window is empty. - Copy and Paste the following code block:
HTML
<style>
/* --- CSS STYLING SECTION --- */
/* Main Container */
#sitemap-container {
font-family: -apple-system, BlinkMacSystemFont, "Segoe UI", Roboto, Oxygen, Ubuntu, Cantarell, "Open Sans", "Helvetica Neue", sans-serif;
width: 100%;
margin: 0 auto;
color: #444;
line-height: 1.6;
}
/* Search Box Design */
#sitemap-search-box {
width: 100%;
padding: 15px;
margin-bottom: 25px;
border: 2px solid #eee;
background-color: #fbfbfb;
border-radius: 8px;
font-size: 16px;
transition: all 0.3s ease;
box-sizing: border-box; /* Ensures padding doesn't break width */
}
#sitemap-search-box:focus {
border-color: #0A6474; /* Change this hex code to match your brand color */
background-color: #fff;
outline: none;
}
/* Table Design */
.sitemap-table {
width: 100%;
border-collapse: collapse;
font-size: 15px;
box-shadow: 0 2px 15px rgba(0,0,0,0.05);
}
.sitemap-table th {
background: linear-gradient(45deg, #0A6474, #23A596); /* Header Gradient */
color: white;
padding: 15px;
text-align: left;
cursor: pointer;
font-weight: 600;
text-transform: uppercase;
letter-spacing: 0.5px;
border: none;
user-select: none; /* Prevents text selection while clicking */
}
.sitemap-table th:hover {
opacity: 0.9;
}
.sitemap-table td {
border-bottom: 1px solid #eee;
padding: 12px 15px;
}
.sitemap-table tr:nth-child(even) {
background-color: #fafafa;
}
.sitemap-table tr:hover {
background-color: #eef9fa; /* Hover color for rows */
transform: scale(1.005); /* Micro-interaction zoom */
transition: transform 0.1s;
}
.sitemap-table a {
text-decoration: none;
color: #333;
font-weight: 500;
display: block; /* Makes the whole cell clickable text area */
}
.sitemap-table a:hover {
color: #0A6474;
}
/* Responsive Rules for Mobile */
@media screen and (max-width: 600px) {
.sitemap-table td:nth-child(2),
.sitemap-table th:nth-child(2) {
display: none; /* Hides the Date column on small screens */
}
}
</style>
<div id="sitemap-container">
<div style="margin-bottom: 20px;">
<p>Welcome to the archives! Use the search box below to filter posts by keyword, or click the headers to sort.</p>
</div>
<input type="text" id="sitemap-search-box" onkeyup="filterSitemap()" placeholder="Type to search posts (e.g., 'SEO', 'Tutorial')...">
<table class="sitemap-table" id="sitemap-table">
<thead>
<tr>
<th onclick="sortTable(0)" title="Click to sort by Title">Post Title ⇅</th>
<th onclick="sortTable(1)" title="Click to sort by Date" style="width: 120px;">Date ⇅</th>
</tr>
</thead>
<tbody id="sitemap-tbody">
</tbody>
</table>
<div id="loading-msg" style="text-align:center; padding: 20px; color: #666;">
Generating Sitemap... Please Wait...
</div>
</div>
<script>
// --- JAVASCRIPT LOGIC ---
var postList = [];
// 1. Fetch Data from Blogger Feed
function loadToc(json) {
var entries = json.feed.entry;
var tbody = document.getElementById('sitemap-tbody');
if(entries){
for (var i = 0; i < entries.length; i++) {
var entry = entries[i];
// Get Title
var title = entry.title.$t;
// Get Date (Format YYYY-MM-DD)
var date = entry.published.$t.substring(0, 10);
// Get Link
var link;
for (var j = 0; j < entry.link.length; j++) {
if (entry.link[j].rel == 'alternate') {
link = entry.link[j].href;
break;
}
}
postList.push({title: title, date: date, link: link});
}
}
// Initial Render
renderTable(postList);
document.getElementById('loading-msg').style.display = 'none';
}
// 2. Render the Table
function renderTable(data) {
var tbody = document.getElementById('sitemap-tbody');
tbody.innerHTML = '';
data.forEach(function(post) {
var row = '<tr><td><a href="' + post.link + '">' + post.title + '</a></td><td>' + post.date + '</td></tr>';
tbody.innerHTML += row;
});
}
// 3. Search Filter Function
function filterSitemap() {
var input = document.getElementById("sitemap-search-box");
var filter = input.value.toUpperCase();
var filteredData = postList.filter(function(post) {
return post.title.toUpperCase().indexOf(filter) > -1;
});
renderTable(filteredData);
}
// 4. Sorting Function (Alphabetical & Date)
function sortTable(n) {
var table, rows, switching, i, x, y, shouldSwitch, dir, switchcount = 0;
table = document.getElementById("sitemap-table");
switching = true;
dir = "asc";
while (switching) {
switching = false;
rows = table.rows;
for (i = 1; i < (rows.length - 1); i++) {
shouldSwitch = false;
x = rows[i].getElementsByTagName("TD")[n];
y = rows[i + 1].getElementsByTagName("TD")[n];
if (dir == "asc") {
if (x.innerHTML.toLowerCase() > y.innerHTML.toLowerCase()) {
shouldSwitch = true;
break;
}
} else if (dir == "desc") {
if (x.innerHTML.toLowerCase() < y.innerHTML.toLowerCase()) {
shouldSwitch = true;
break;
}
}
}
if (shouldSwitch) {
rows[i].parentNode.insertBefore(rows[i + 1], rows[i]);
switching = true;
switchcount ++;
} else {
if (switchcount == 0 && dir == "asc") {
dir = "desc";
switching = true;
}
}
}
}
</script>
<script src="/feeds/posts/summary?alt=json-in-script&max-results=9999&callback=loadToc"></script>
Step 4: Save
Click Publish or Update.
Part 4: Customization & Troubleshooting
You want your sitemap to match your blog’s theme. Here is how to tweak the code above.
How to Change Colors
Look at the <style> section at the top of the code.
- To change the Header Color: Find
.sitemap-table th. Changebackground: linear-gradient(...)to your preferred hex code (e.g.,background: #ff0000;for red). - To change the Link Color: Find
.sitemap-table a:hover. Change#0A6474to your preferred color.
How to Hide the Date
If your content is “evergreen” (timeless) and you don’t want users judging posts by their age, you can hide the date column permanently.
- Find the CSS rule
@media screen and (max-width: 600px). - Remove the line
@media...and the closing}bracket, but keep the con36tent inside it. This will apply the “display: none” rule to the date column on all screen sizes, not just mobile.
Troubleshooting: “It’s Stuck on Loading!
If you see the “Generating Sitemap… Please Wait…” message but the posts never appear:
- Check Feed Settings: Go to Settings > Site Feed. Make sure it is NOT set to “None.”
- Private Blogs: This script only works on Public blogs. If your blog is set to “Private” (Readers: Only authors), the feed is blocked from the script.
- Third-Party Templates: Some custom templates disable the default Blogger feeds. Revert to a standard theme temporarily to test if the template is the issue.
Part 5: Promotion
A sitemap page is useless if no one visits it.
- Footer Link: The footer is the standard place for “utility” links. Add a “Sitemap” link next to your “Privacy Policy” and “Contact” pages.
- Error 404 Page: Edit your custom 404 (Page Not Found) message to say: “Oops! We couldn’t find that page. Try searching our [Sitemap] to find what you’re looking for.”
- Sidebar Banner: If you have a specific category you want to highlight, you can link to the sitemap and tell users, “Browse our complete library of 500+ articles here.”